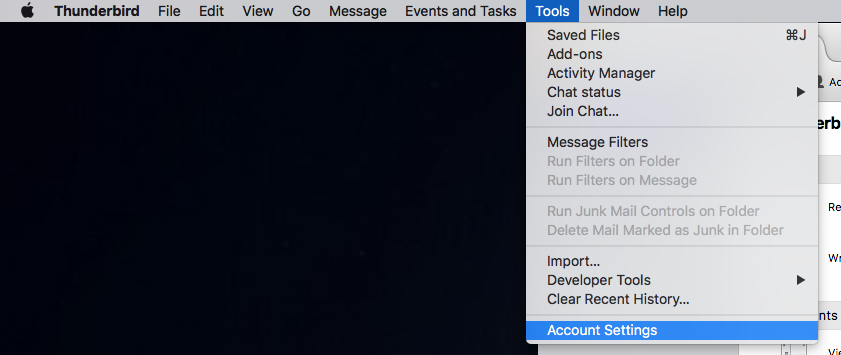
Go to mail on your Mac and on the top right next to the apple icon you can find File menu.
Click on it to get to the preferences menu.
On the preferences dialog box, click on the accounts tab on the top next to the general tab.
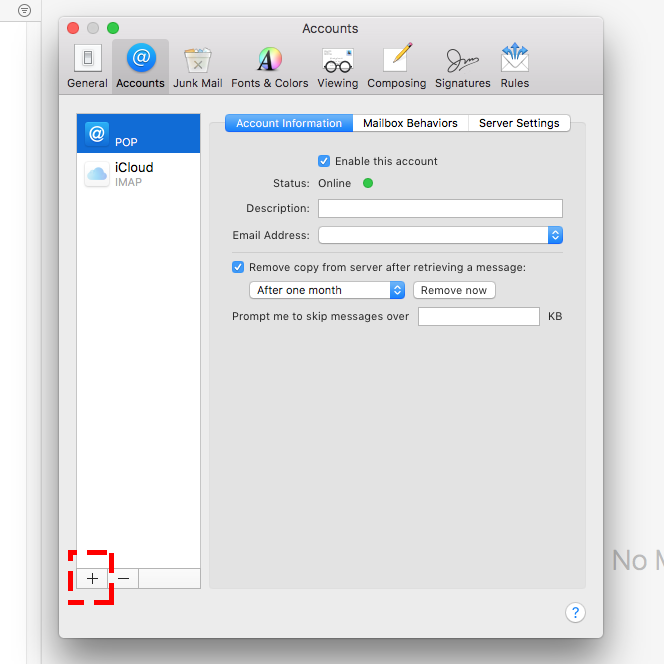
Select the + sign at the bottom as shown in the image
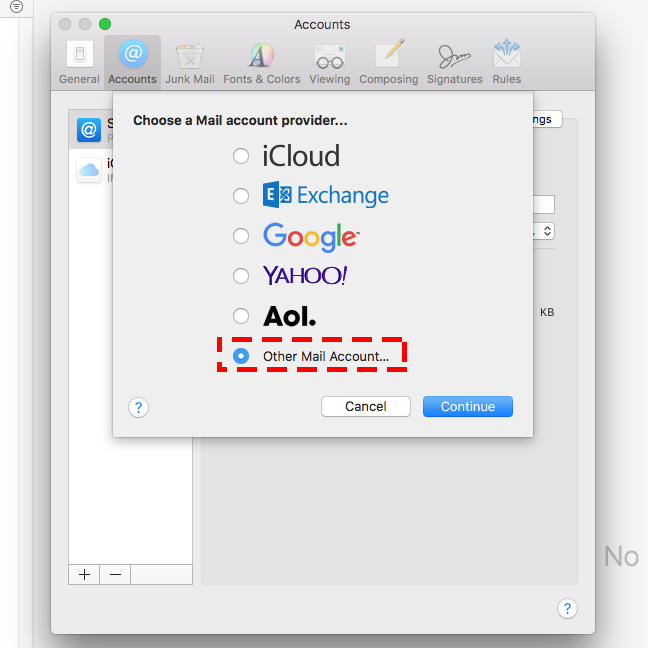
Select other mail accounts and click ok
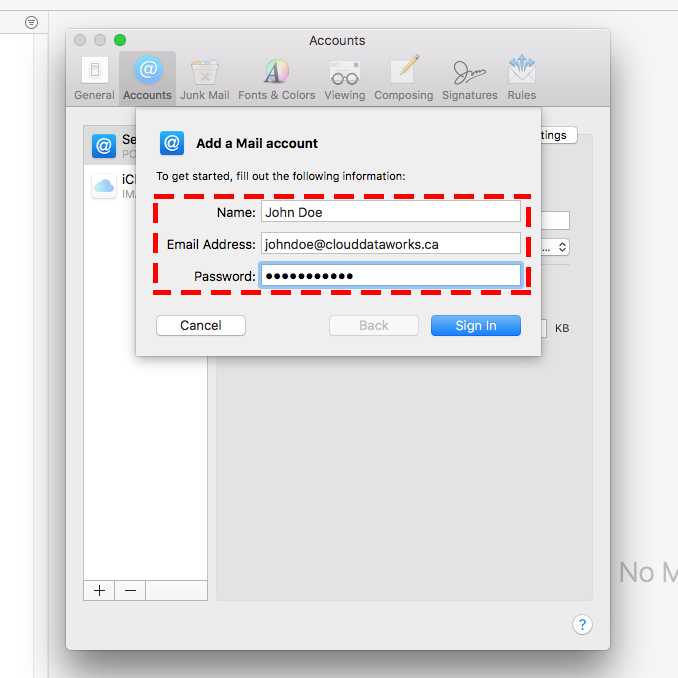
Enter your name, your email address and your password if you need one.
In this example John Doe (name), johndoe@clouddataworks.ca (email address).
Click signin
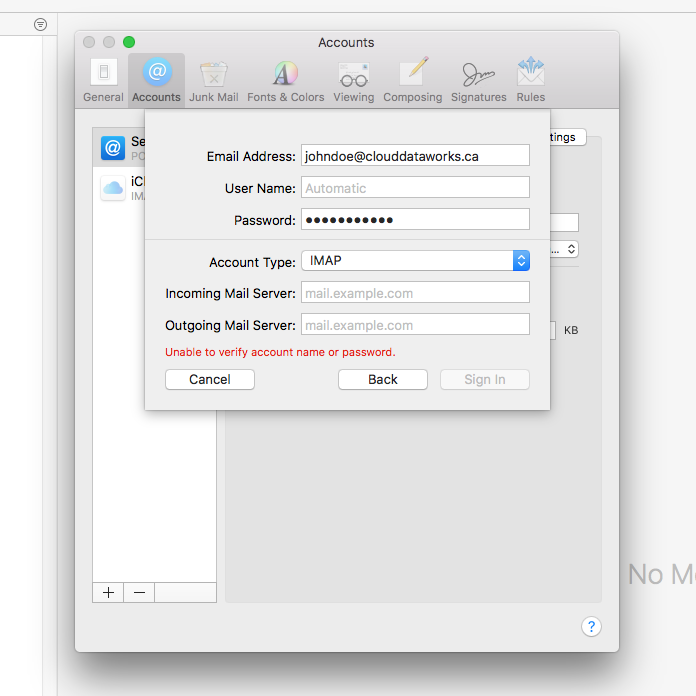
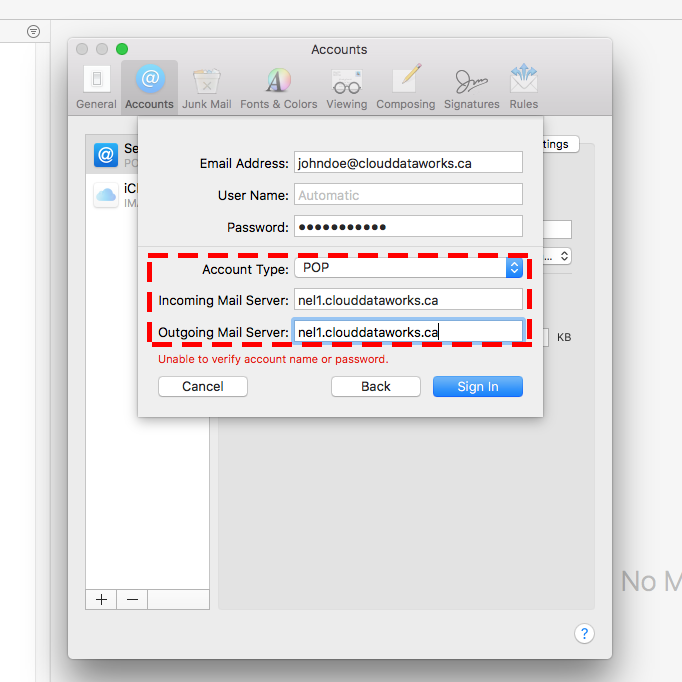
Choose Account type as POP.
Enter the your incoming mail server and outgoing mail server ( to find you mail server number Click here)
Click signin
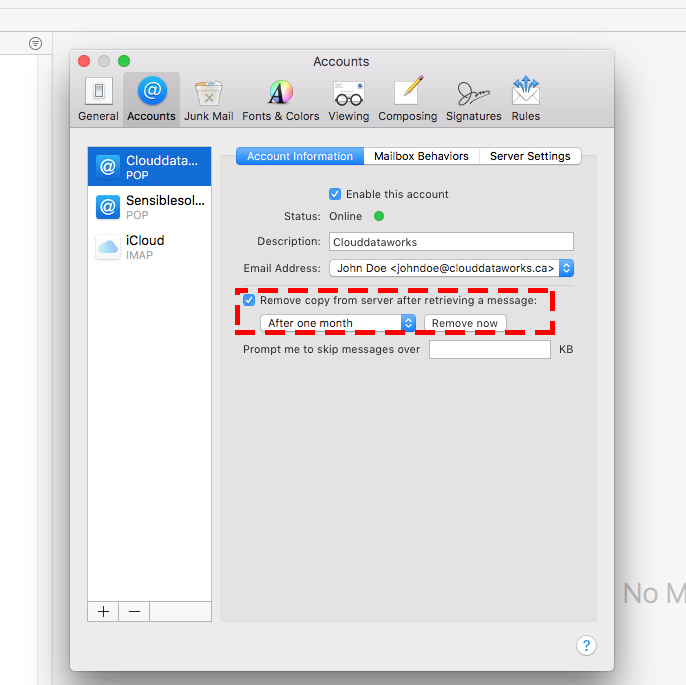
Click on the new added account name and choose the option as mentioned in the image.